Key Takeaways
- Regular maintenance and cleaning of studio headphones is crucial to ensure optimal performance and longevity.
- Gather essential cleaning tools like a soft cloth, mild soap, and cotton swabs to effectively clean your headphones without causing damage.
- Patience is key when drying — avoid heat sources and wait for them to completely air dry before reassembling.
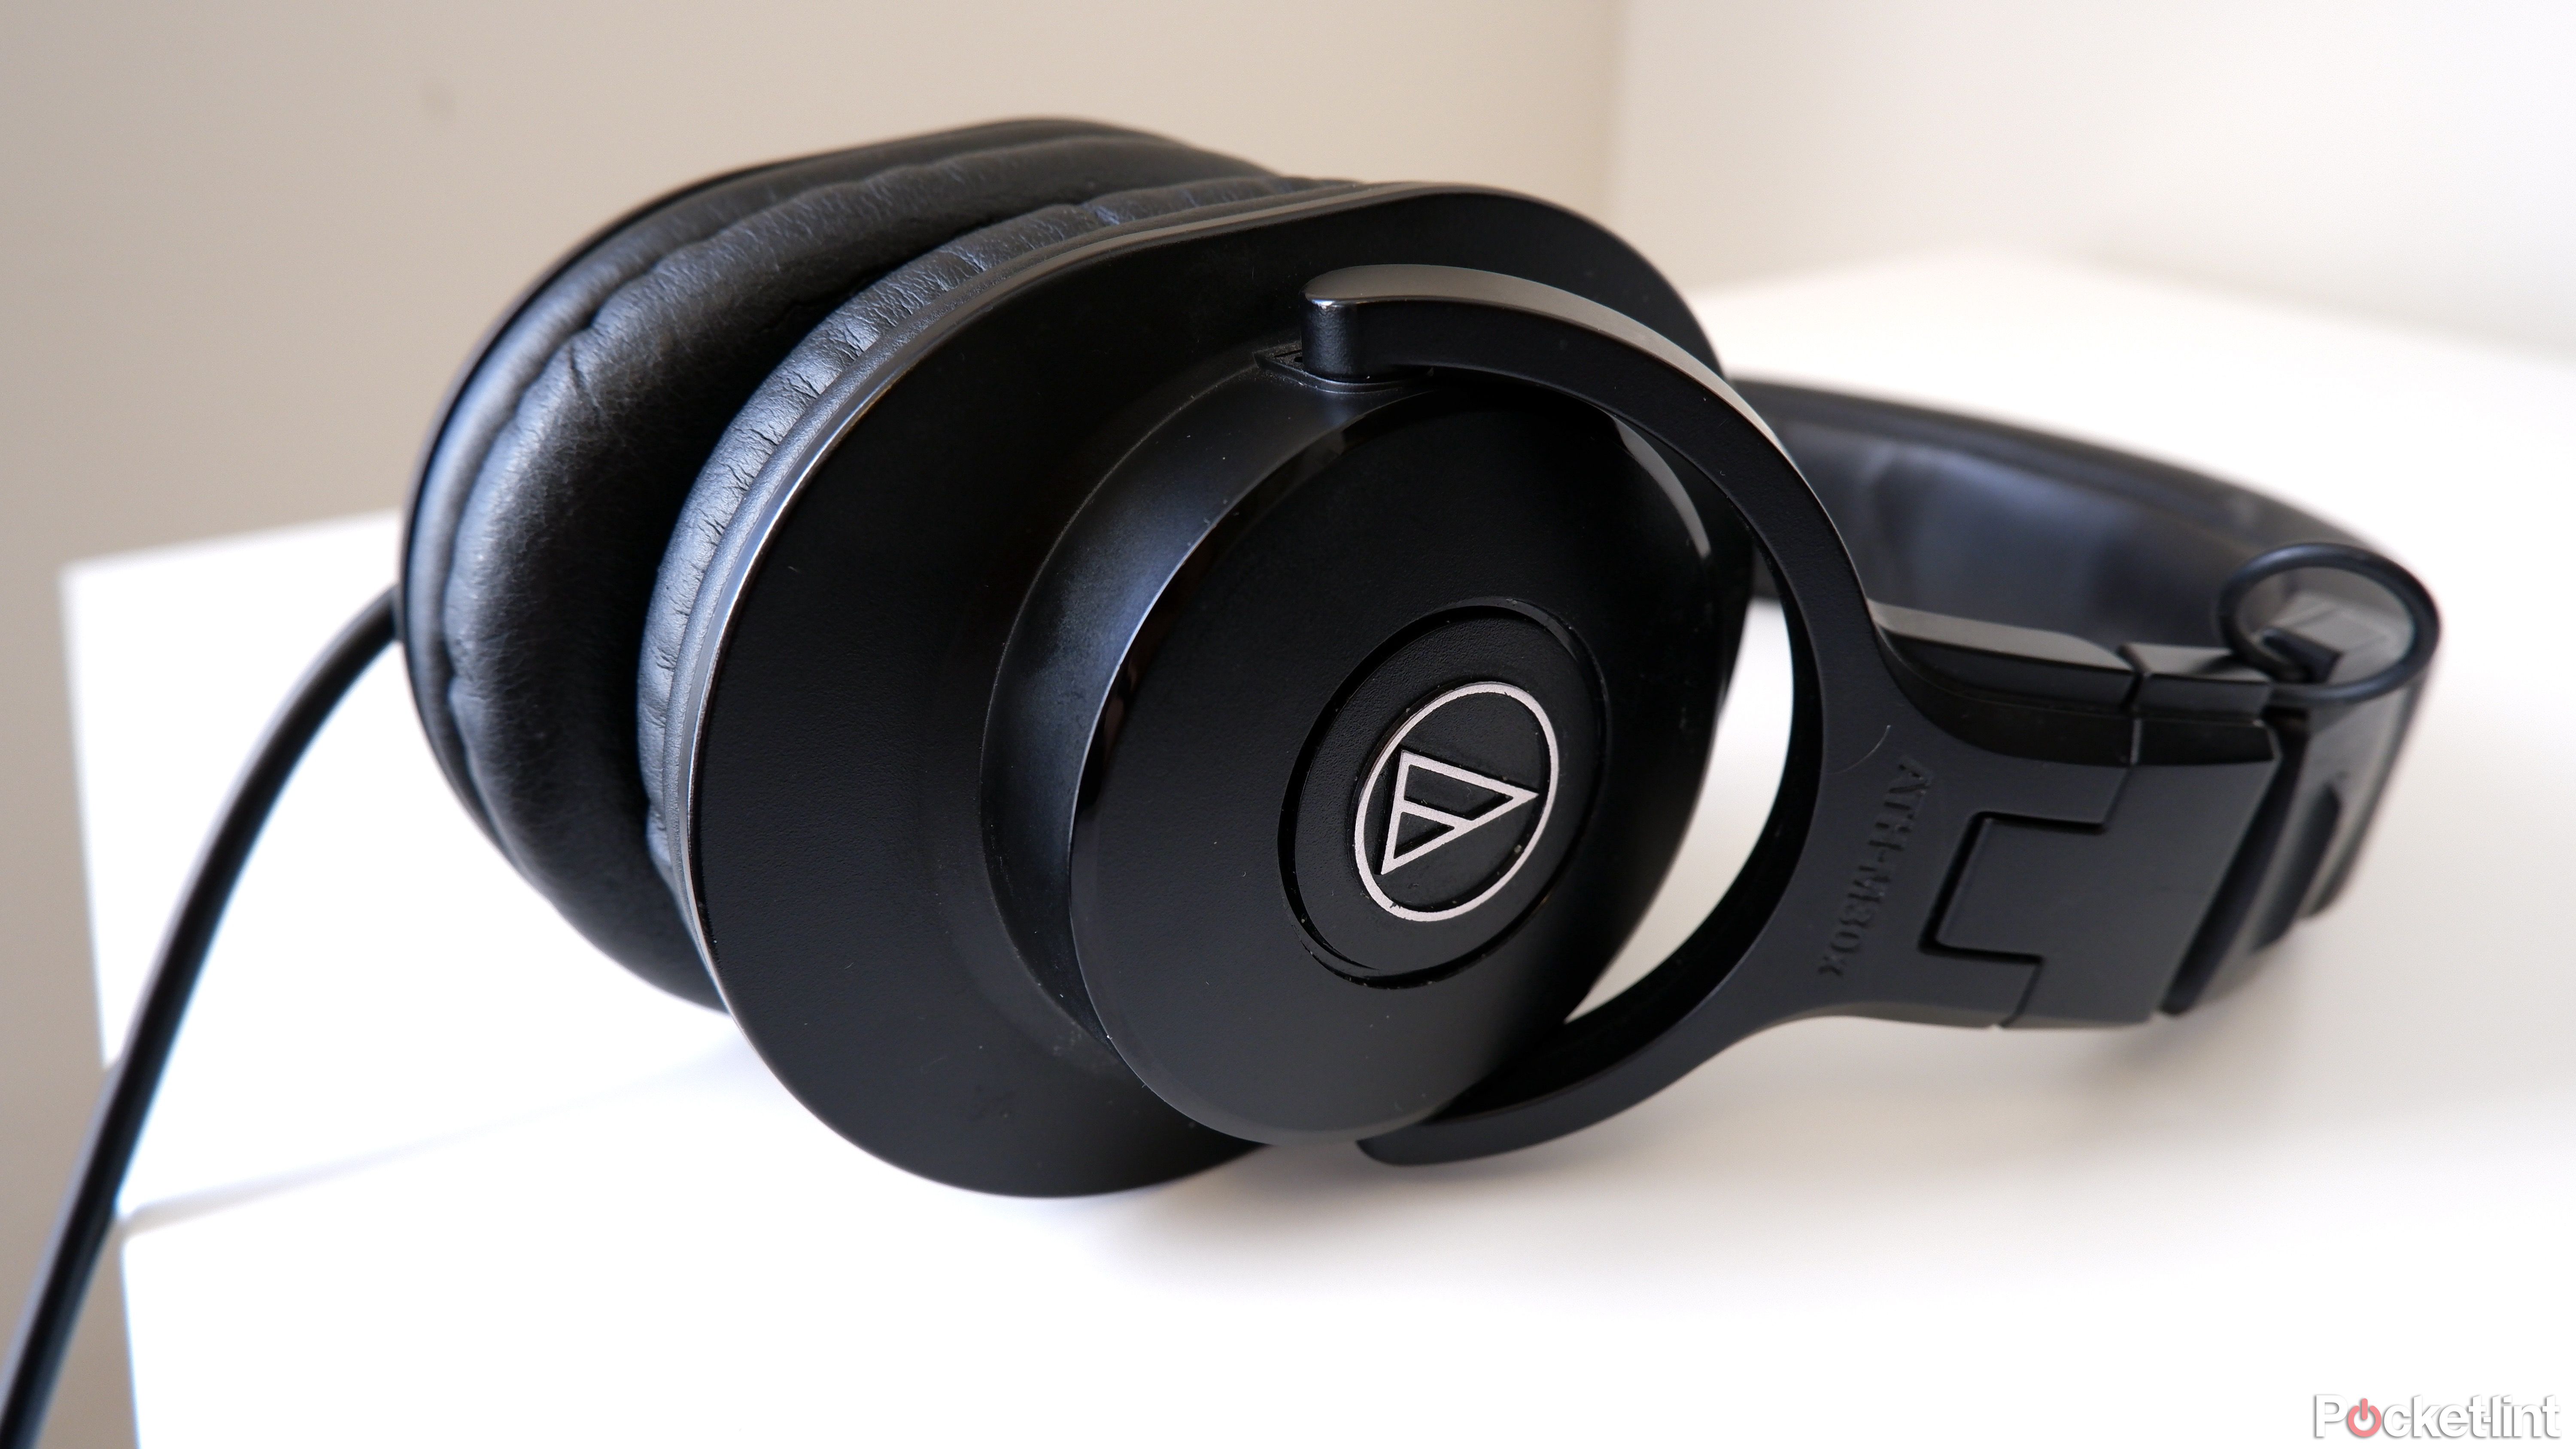
Studio headphones are an essential tool for any audio enthusiast or professional. They offer pristine sound quality that will best reflect your source material, allowing you to accurately examine your music. Your studio headphones coupled with studio monitors is key to success in the studio, so let’s not diminish its importance.
6 best laptops for music production: Expert tested and reviewed
From Apple to Dell, our audiophile pros tested and ranked the best laptops for music makers.
And like any piece of equipment, they require proper maintenance to ensure peak performance and longevity, especially because they are such an important studio tool.
Despite their importance, many studio headphone owners overlook the significance of regular cleaning and maintenance. Let’s be honest, after investing in a top-notch pair of studio headphones, the last thing you want is for them to degrade faster than necessary. As a musician, I don’t think twice about keeping my instruments safe, clean and maintained, and the same goes for my studio headphones.
From removing dirt and grime to preserving the integrity of delicate components, I’ll cover everything you need to know to keep your headphones in pristine condition. Whether you’re a music producer, podcaster, or avid listener, maintaining your studio headphones is crucial for optimal performance.
This equipment will make your life a lot easier
So, before we dive into the cleaning process, here are a few of the essentials. You may not need all of this contraband, but having a few handy cleaning utensils will make your job a lot easier.
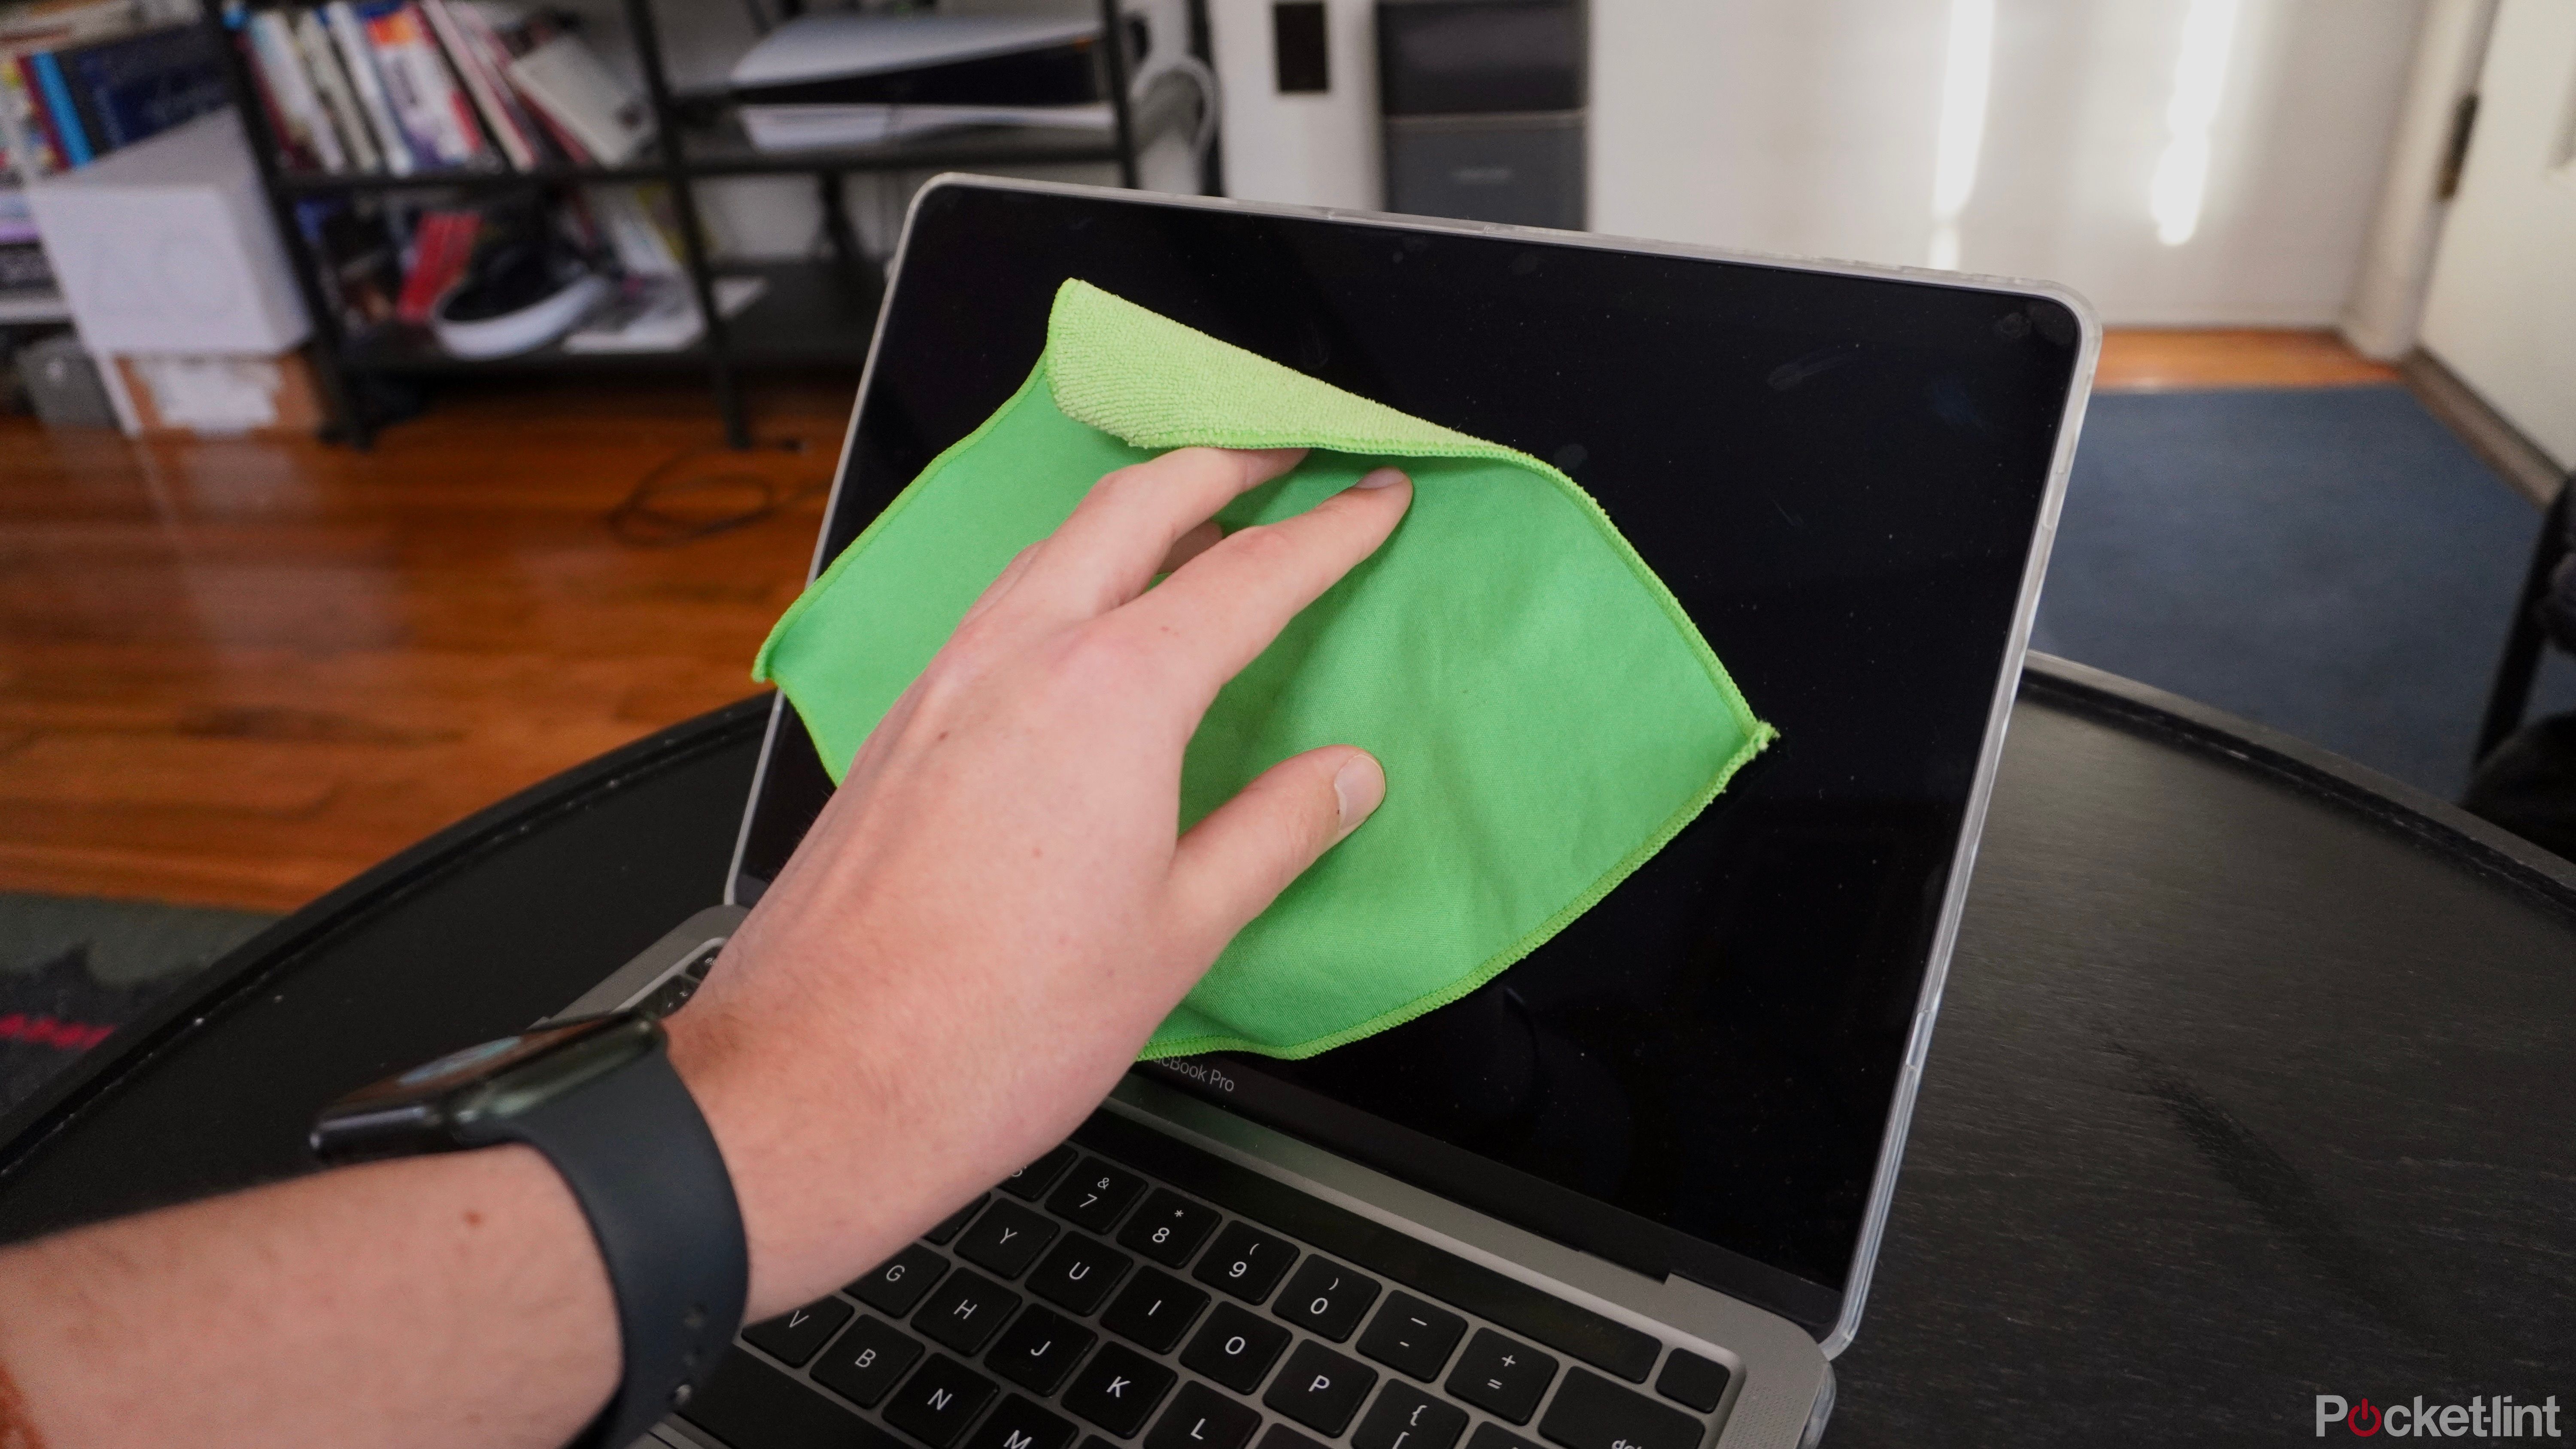
- Soft, lint-free cloth or microfiber cloth: This will be your primary tool for wiping down the headphones and removing dust and grime without scratching the surface or causing damage.
- Mild soap or cleaner: It’s best to opt for a gentle cleaning solution to ensure it won’t damage the materials. You can use something like dishwasher detergent, diluted in plenty of water and this will do the trick.
- Cotton swabs or soft-bristled brush: These are handy for cleaning hard-to-reach areas and removing dirt from crevices which you may come across when removing the earcups. Dust and grime can get into every pore, so if you want to do the best job possible, arm yourself with one of these tools.
- Isopropyl alcohol (optional): If your headphones have exposed metal and have stubborn stains or buildup, a diluted solution of isopropyl alcohol can help dissolve them without causing damage. However, you’ll want to use this sparingly and only on really tough stains.
- Dry cloth or paper towels (optional): These are useful for drying your headphones after cleaning to prevent moisture damage.
How to clean your TV, monitor, or laptop display the right way
There’s nothing more distracting than a pesky smudge on your screen. Here’s how to clean your TV, PC monitor, or laptop display the correct way.
Inspect and remove detachable components
Get earcups, cables, removable headbands out of the way
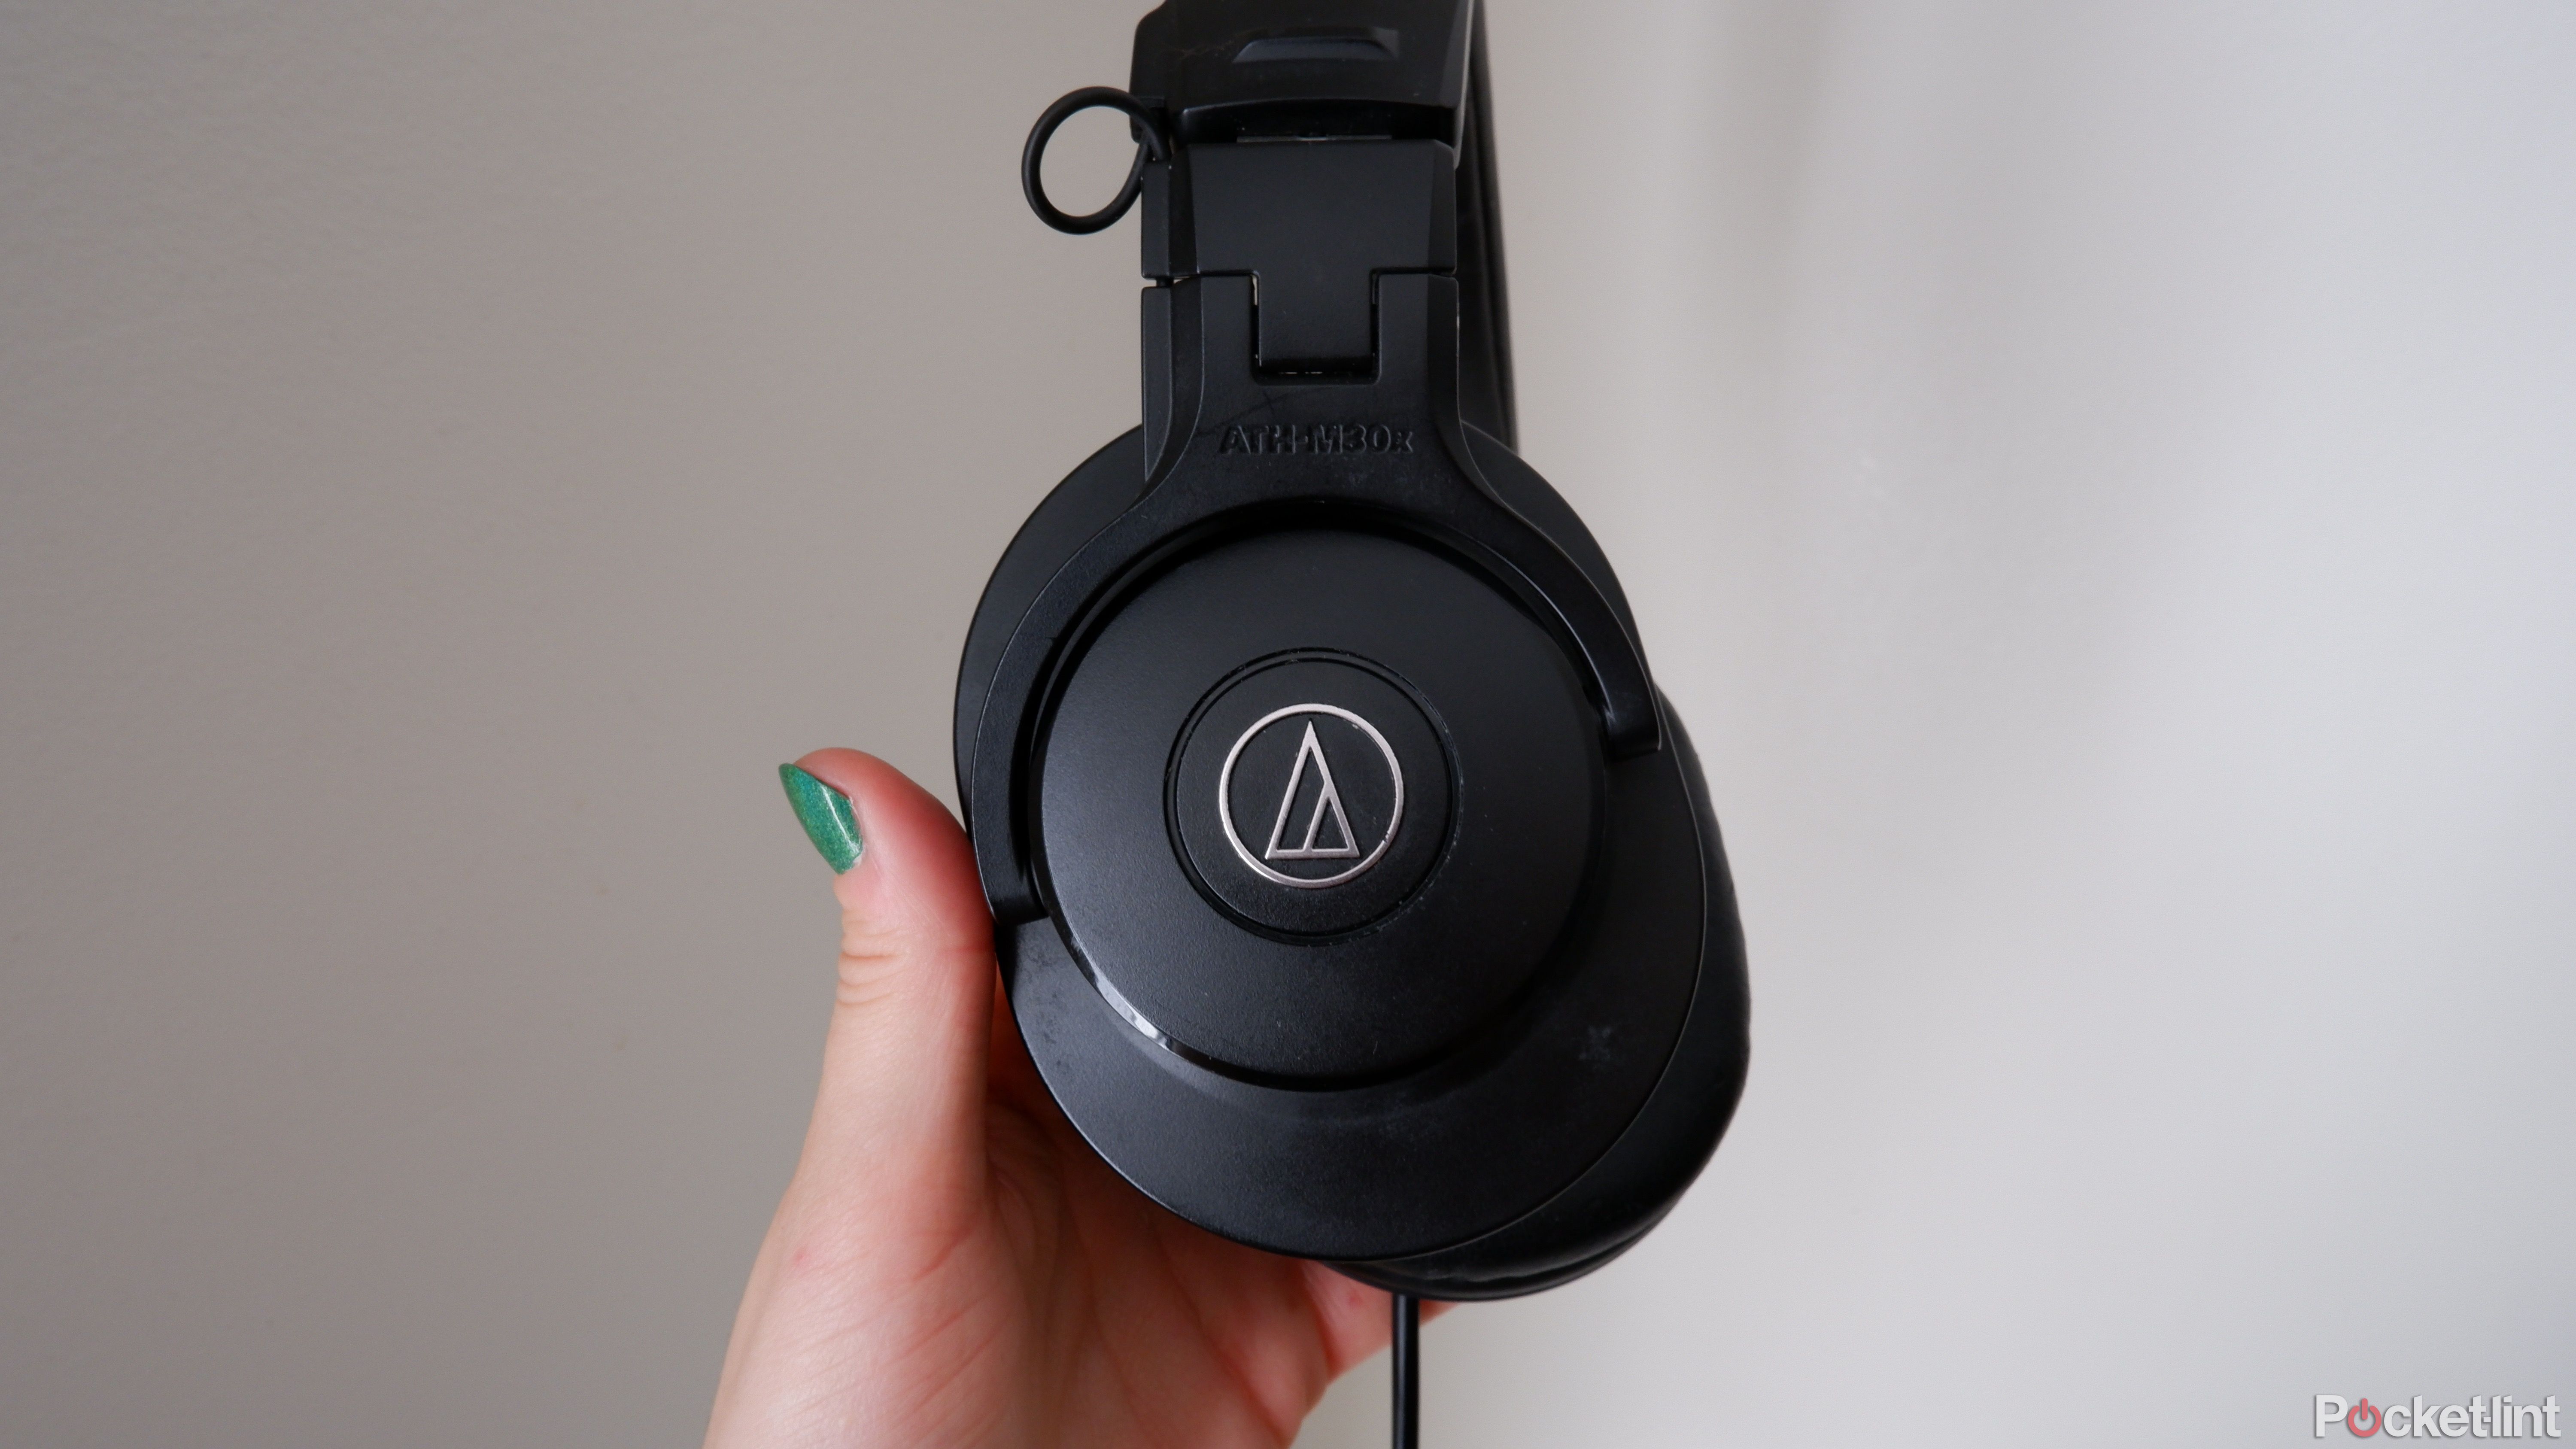
- Inspect your headphones: Carefully check your studio headphones for any visible dirt, debris, or buildup. Take note of areas that may require special attention during the cleaning process, such as ear pads, headband, and hinges. Basically, the parts of the headphones that come into contact with your head.
- Remove detachable components: If your headphones have detachable parts like ear pads or cables, remove them to prevent any obstructions during cleaning. Removing the earcups will also expose tricky-to-reach areas that may need attention. These areas are often overlooked but can accumulate dirt over time.
- Clean detachable components: Use a cloth with a touch of mild soapy water to clean the detachable components thoroughly. Ensure they are completely dry before reattaching them to the headphones. You can wipe off excess water with paper towels, but air drying is preferred. Make sure everything is fully dry before reattaching.
With the detachable components removed, you’ll have better access to the main body of the headphones for thorough cleaning. This allows you to clean the main body effectively without any hindrances or pesky cables getting in the way.
5 signs you should upgrade your studio headphones
As a music industry professional, I know studio headphones are a key for a successful mix. Here are the indicators it’s time for a new pair.
Wipe down the rest of the headphones
Get into the nitty-gritty of the main components
- Wipe down the exterior surfaces: Using a cloth, gently wipe down the exterior surfaces of the headphones. Start by removing any visible dust and debris, paying close attention to seams, edges, and crevices where dirt may build up.
- Pay attention to the headband: Don’t be afraid to go over parts like the headband more than once, as long sessions in the studio can usually lead to hot and sweaty heads, especially if your earcups are large and cushioned. Making sure that all of your perspiration has been cleaned off is key to happy headphones.
- Use moisture/ cleaner sparingly: Try not to use too much moisture or cleaning solution, as it might seep into the headphone’s inner parts and cause damage. When wiping down the headband and hinges, be gentle but thorough, making sure to cover every inch without applying too much pressure that could harm the materials.
Best studio headphones: Top headphone options for mixing, producing, and mastering
From Sennheiser to Beyerdynamic, the best studio headphones will help you on your way to creating incredible sounding music.
Dry the headphones as best you can
Patience is key
After you’re done cleaning, take a dry cloth or paper towel to carefully dry off the headphones. Make sure to get rid of all moisture on the surfaces and parts to avoid any potential harm. Let the headphones air dry fully before you put back any detachable parts or use them again.
Best PCs for music production: find your best note with Apple, HP, or Microsoft
The best music production PCs are powerful enough for big tracks and suit a variety of different studios.
Avoid using hair dryers or other heat sources, as they could end up warping or damaging the materials. Although it can sometimes take a day or two to totally air dry your headphones, it’s important you don’t rush.
If the components haven’t properly dried, it can lead to potential damage. Once you are confident that all the components have dried, you can reassemble your headphones and get back to doing what you love: creating music.
FAQ
Q: How often should I give my studio headphones a good cleaning?
Like any well-loved gear, your studio headphones will benefit from regular TLC. Aim to give them a good clean every few months, especially if you’re using them regularly. It’ll keep them sounding their best and looking fresh. Alternatively, if you’re yet to give your studio headphones a clean, get your cleaning utensils out at the earliest possible convenience and start cleaning.
Q: Can I use strong stuff like alcohol or tough cleaners on my headphones?
It’s best to treat your headphones with care, just like you would your favorite instrument. Harsh chemicals can mess with the softer materials and cause unwanted reactions, ultimately resulting in damage. Stick to gentler solutions made specifically for headphone care or a mild soap mix.
If your headphones have any exposed metal that has oxidized or been stained, you should be fine using a very light amount of isopropyle alcohol. Once the alcohol has been used and any stains or debris are removed, wipe any excess alcohol off with a cloth.
Q: Can I put the earcups in the washing machine?
It depends on what they’re made of. Some pads can handle a gentle wash according to the label, but if not, it’s better to avoid dunking them. This is particularly true if you have expensive studio headphones that may use delicate and incredibly soft materials. Instead, clean them with a damp cloth and a little soap.
It’s also a good idea to avoid putting earcups in the washing machine if they are extra padded. You run the risk of clumping together the padding, almost like putting a pillow in the washing machine. This will totally ruin the earcups, resulting in them going straight to the bin.
Q: How do I deal with gunk in the headphone mesh or grilles?
Think of it like cleaning out the lint trap in your dryer or dusting behind a radiator in your house. Use a soft brush or some compressed air to gently clear away any buildup. Just be easy with it — no need for a heavy hand as the grille usually covers really sensitive parts of the headphones like the driver. If you’re too rough, you could end up breaking something you don’t want to.
Trending Products

Cooler Master MasterBox Q300L Micro-ATX Tower with Magnetic Design Dust Filter, Transparent Acrylic Side Panel…

ASUS TUF Gaming GT301 ZAKU II Edition ATX mid-Tower Compact case with Tempered Glass Side Panel, Honeycomb Front Panel…

ASUS TUF Gaming GT501 Mid-Tower Computer Case for up to EATX Motherboards with USB 3.0 Front Panel Cases GT501/GRY/WITH…

be quiet! Pure Base 500DX Black, Mid Tower ATX case, ARGB, 3 pre-installed Pure Wings 2, BGW37, tempered glass window

ASUS ROG Strix Helios GX601 White Edition RGB Mid-Tower Computer Case for ATX/EATX Motherboards with tempered glass…


