Key Takeaways
- Easily revive your old laptop by installing ChromeOS Flex for a faster and responsive experience.
- Installation is simple — keep Windows, or switch to ChromeOS Flex for a risk-free trial.
- Make a bootable USB, change the boot device, and enjoy ChromeOS Flex’s browser-based OS for ultimate convenience.
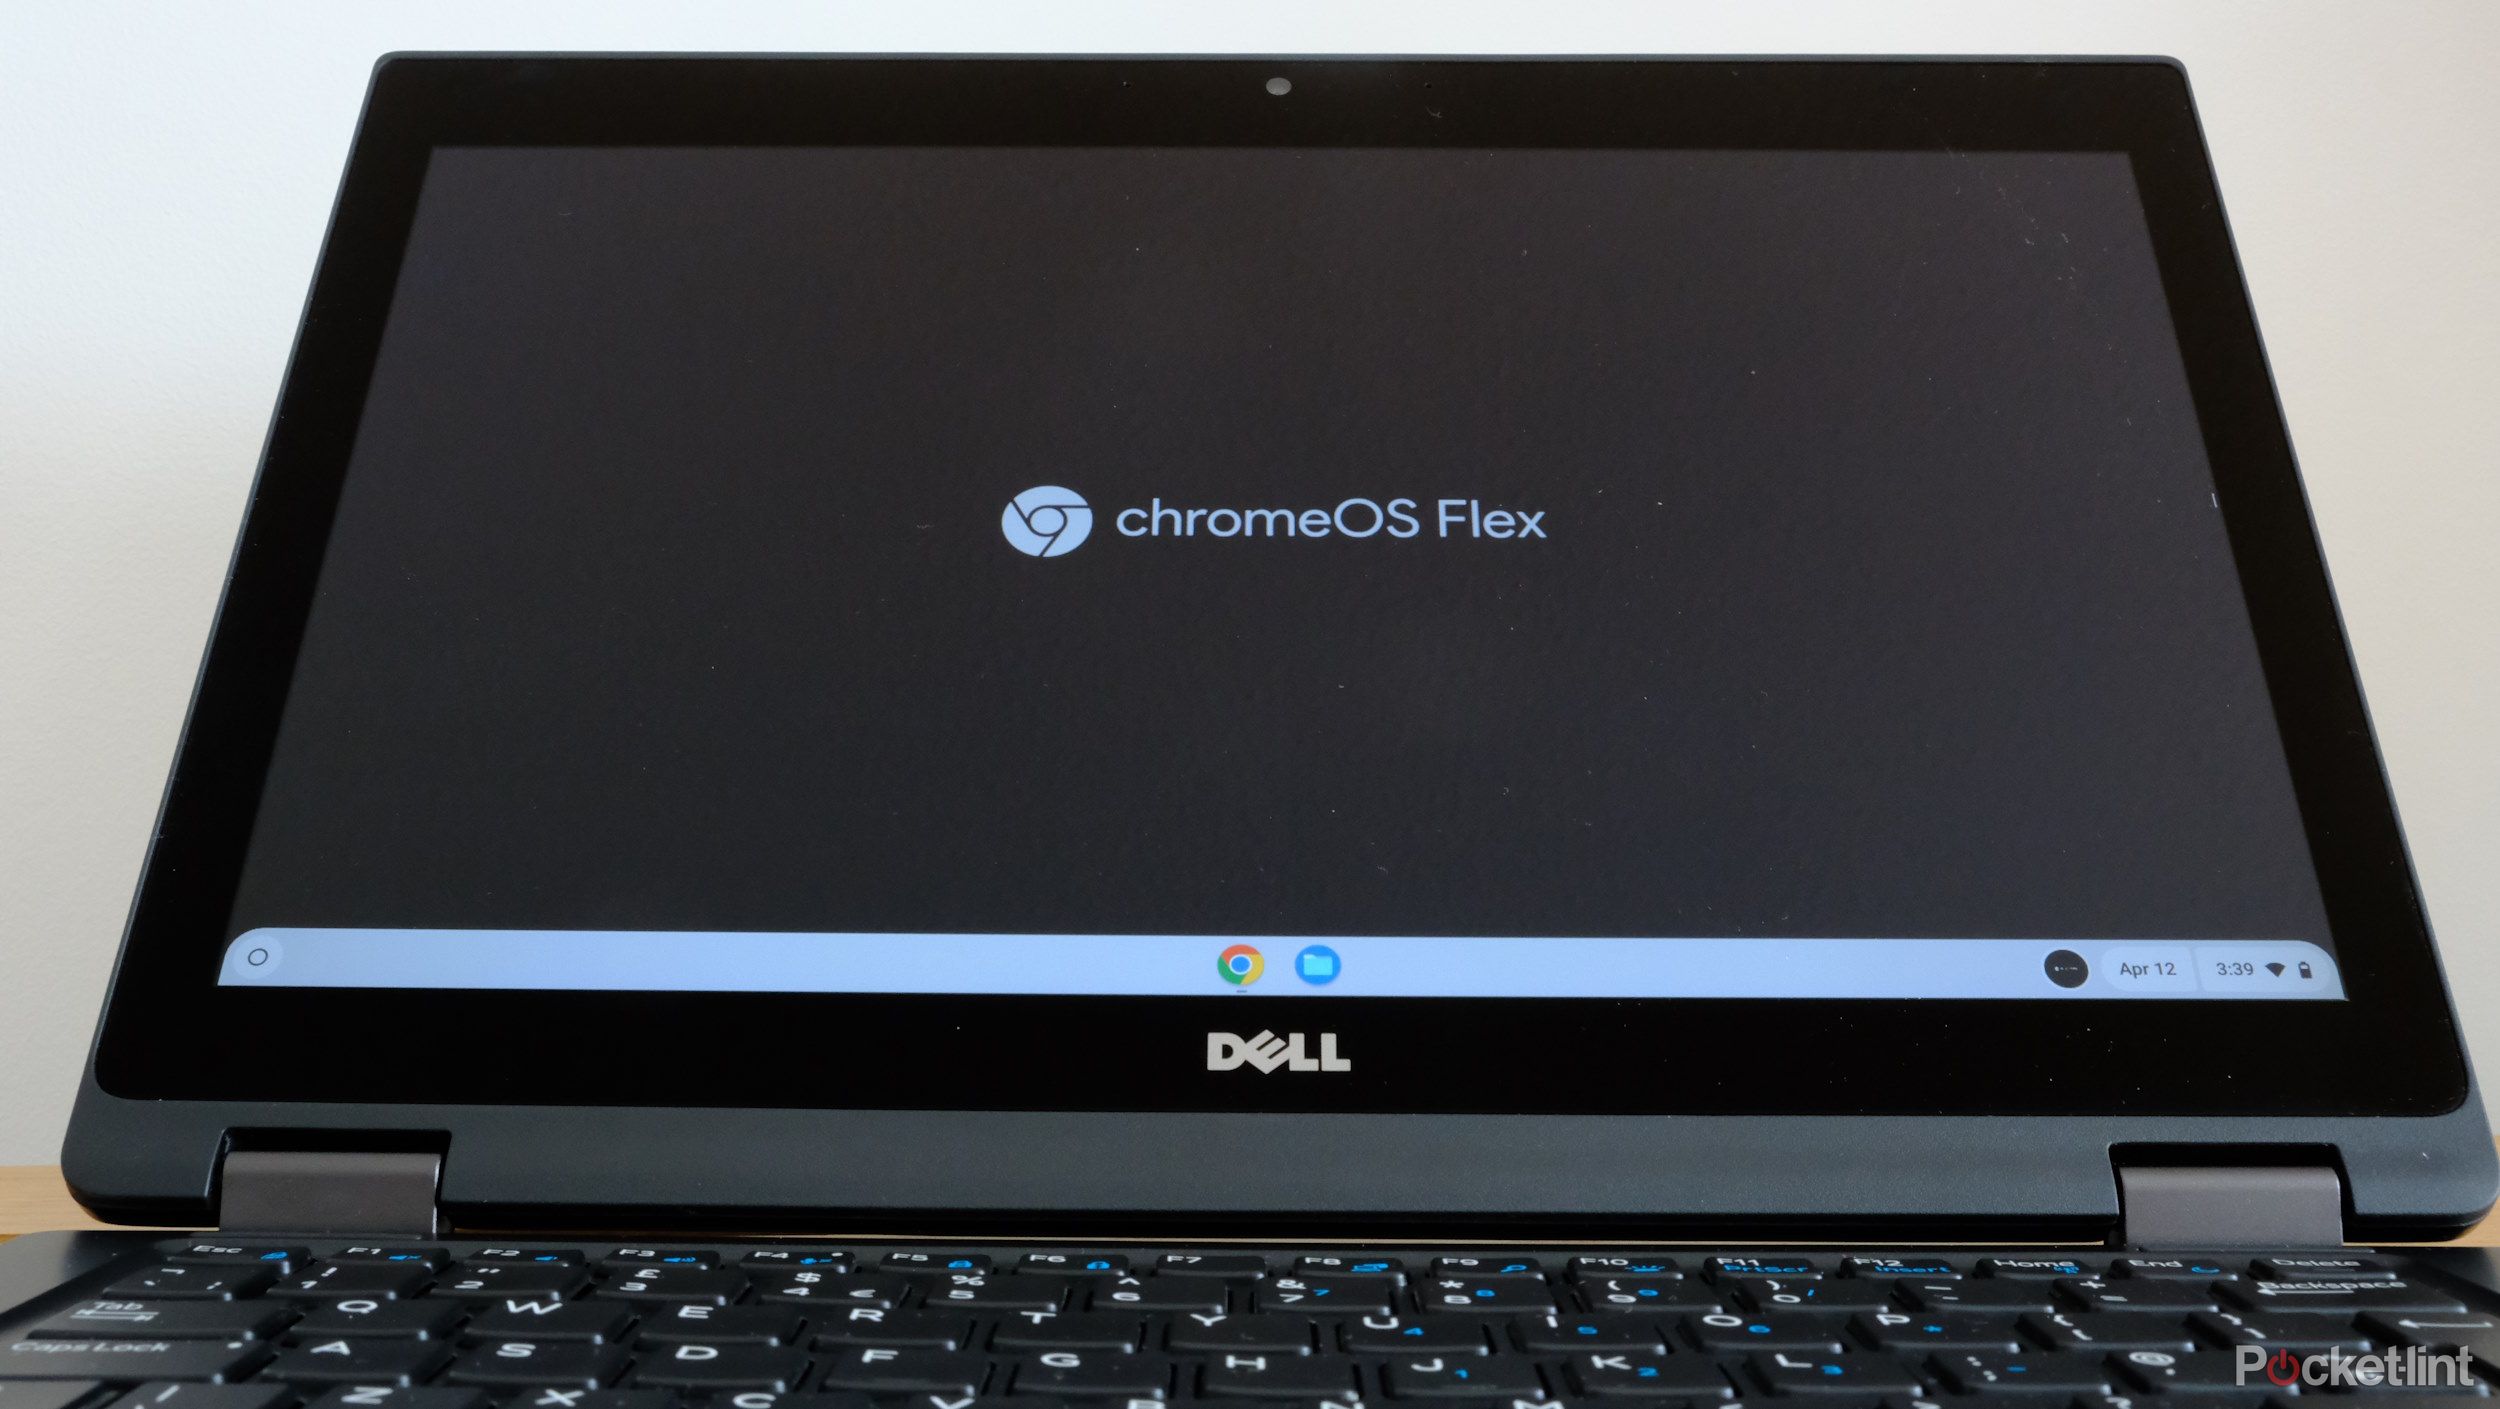
If your aging laptop or MacBook is slow and struggles to run smoothly, there’s a free, simple way to give it a new lease of life and avoid wasting money on a new model. By ditching Windows or macOS and installing Google’s ChromeOS Flex, even a decade-old laptop can feel like you bought it last week. ChromeOS Flex has extremely modest system requirements, meaning even a budget laptop bought years ago will feel snappy and responsive.
If you don’t like it, you can simply switch back to Windows exactly as you left it in a few seconds.
Installing ChromeOS Flex is easy. You can even keep your original Windows or Mac installations, programs and files if you want to try it first. If you don’t like it, you can simply switch back to Windows exactly as you left it in a few seconds. Of course, if you’re totally sold on the new OS, then you can also remove Windows to free up space, creating your own personal Chromebook using your old laptop.
How to install and play Minecraft on your Chromebook
Playing Fortnite on a Chromebook wasn’t possible for the longest time, but it’s quite simple to do now. Here’s how.
In this guide we’ll present you with how to install ChromeOS Flex while keeping your existing operating system installed, or installing ChromeOS Flex as your new operating system. It’s completely free, works on most laptops that were made after 2010 and all you need is an 8GB or larger USB flash drive.
 What is ChromeOS Flex?
A minimal operating system
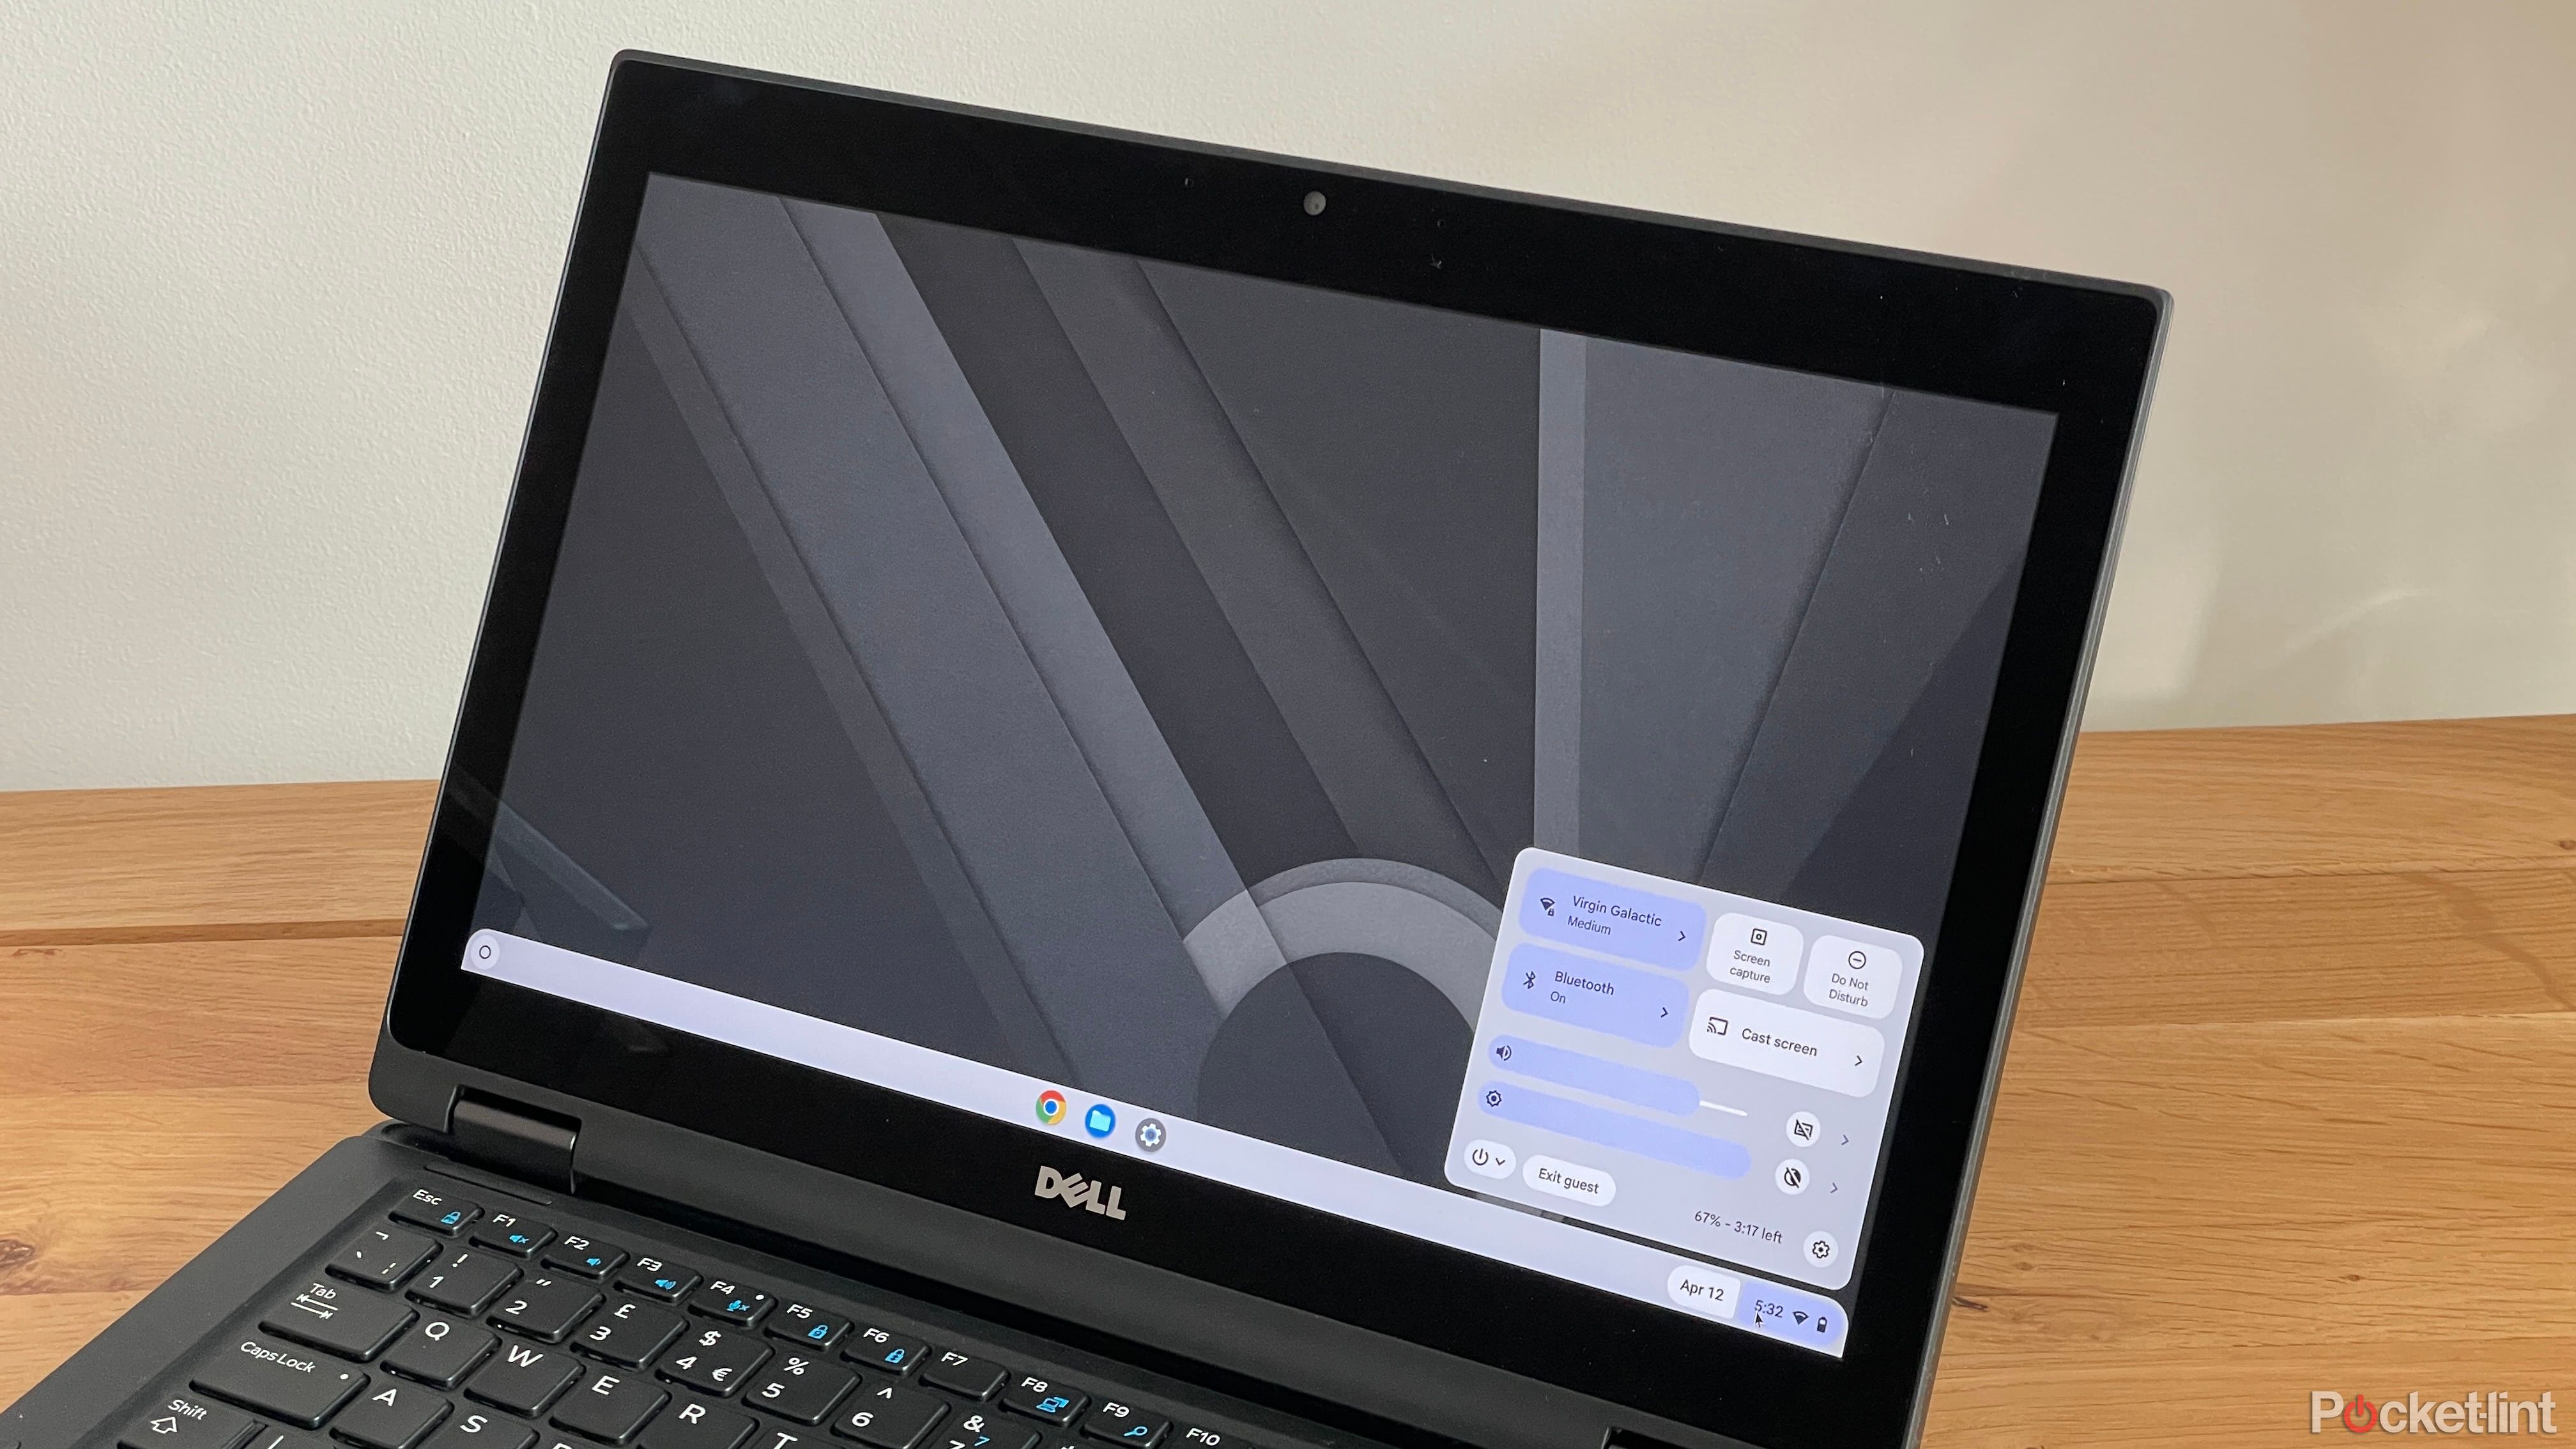
Before we start, it’s important to understand what Chrome OS Flex is. ChromeOS Flex is a browser-based operating system, similar to what you’ll find on any standard Chromebook, which means you generally need access to the Internet and browser-based applications. If you’re happy to stick to online services such as Gmail and Google Docs or Outlook and Microsoft’s 365 plus video and audio streaming services, then Chrome OS Flex could be for you.
Just because it’s browser-based doesn’t mean your laptop will be unusable if you’re not online, though, as most browser-based extensions for using the likes of Google Docs do have offline modes.
What you can’t do is install apps onto your laptop itself. There’s no official Google Play Store support as the whole point about ChromeOS Flex is for it to be simple and easy to run. Just because it’s browser-based doesn’t mean your laptop will be unusable if you’re not online, though, as most browser-based extensions for using the likes of Google Docs do have offline modes. It’s worth checking with your specific apps, though, as some can’t work offline, such as Microsoft 365.
How to install ChromeOS Flex on your laptop
It’s not hard, but does take some time
To start with, you’ll need to create a USB installer using an 8GB or larger USB flash drive — follow these steps:
- On your computer, use Google’s Chrome browser to access the Chrome Web Store by clicking on the extensions icon to the right of the address bar at the top.
- Install the Chromebook Recovery Utility extension.
- Connect your USB flash drive and then run the extension by clicking on the extensions icon again and selecting the extension in the dropdown list.
- Once you’ve opened the Chrome Recovery Utility, select ChromeOS Flex in both dropdown menus. This is the version you need to install on a laptop. Now’s the time to back up any data you need on your USB flash drive too, as this process will wipe it.
- It’s important to check if you’re installing ChromeOS Flex to the correct drive. The program shows the make, model and capacity of the drive, so make sure it matches your USB flash drive. (For example, if you have a 16GB Samsung USB flash drive, make sure that’s what you select to flash ChromeOS Flex to, otherwise you could wipe your computer’s hard drive.)
- After selecting your drive, the utility will begin to flash the necessary files to it. The process will take a few moments after it starts.
- Once it’s complete, leave your USB flash drive connected and restart your PC.

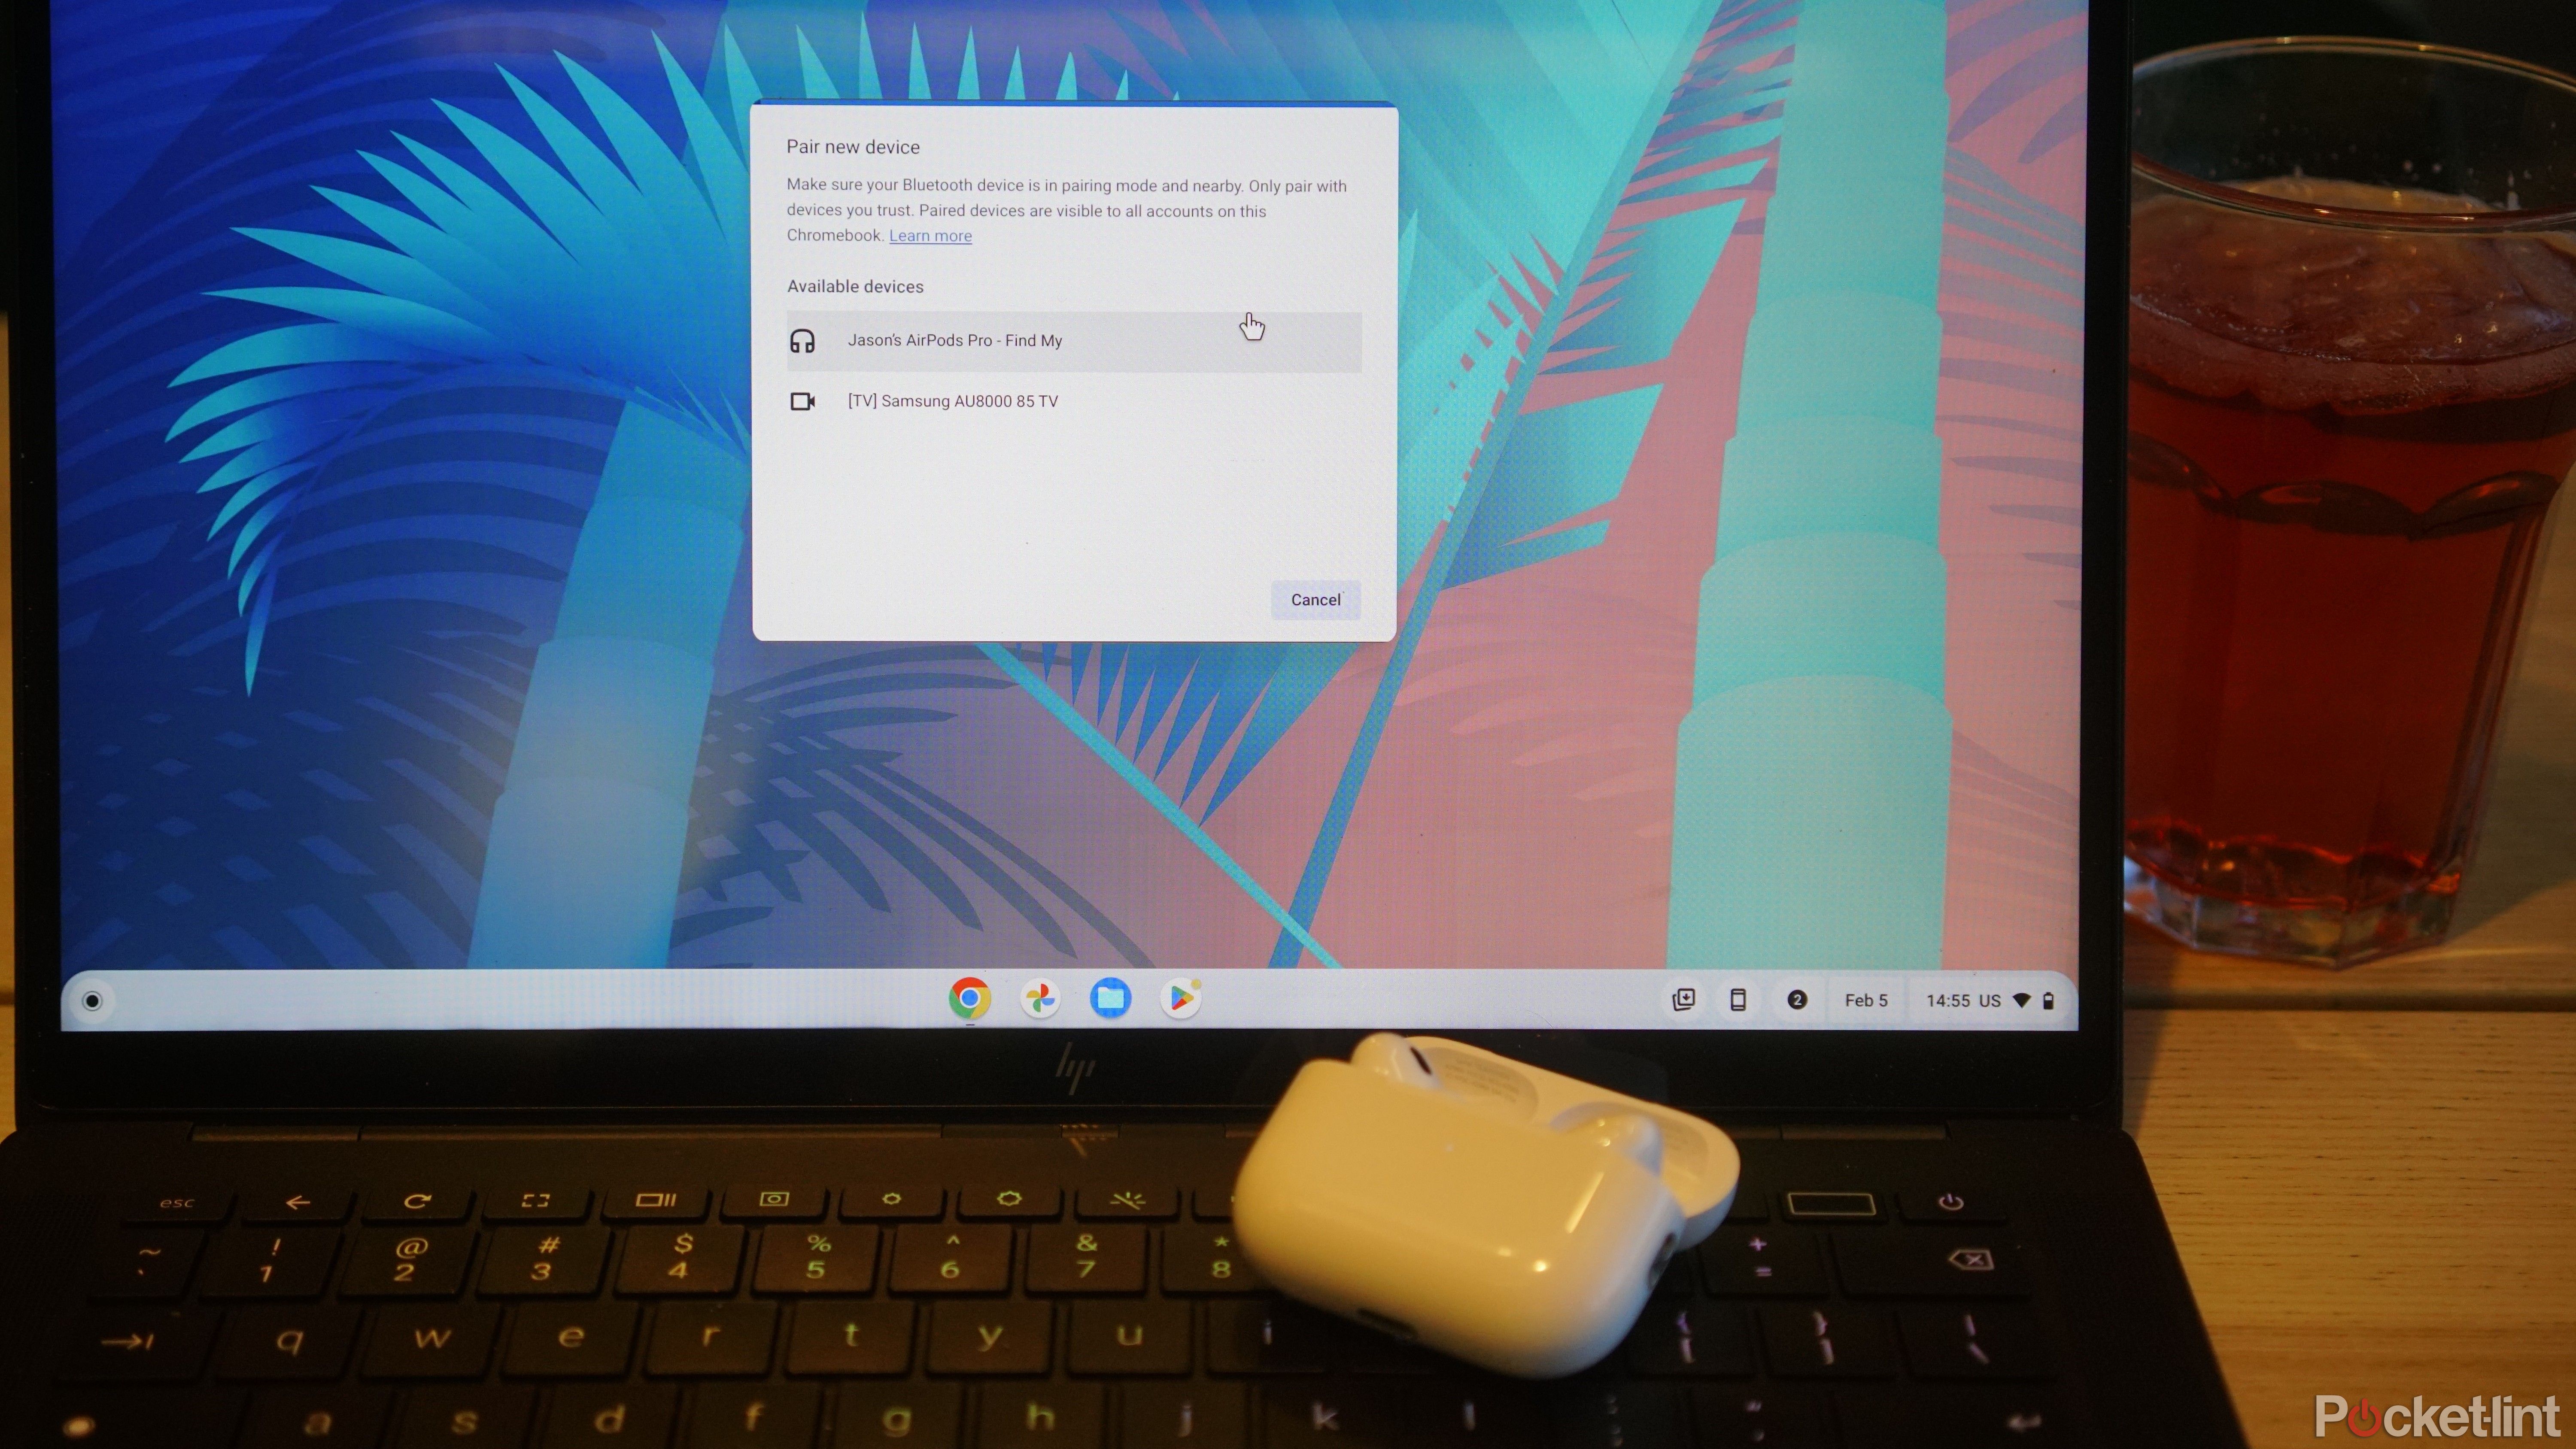
How to easily connect your AirPods to a Chromebook
Yes, you can take your meeting on Chromebook with AirPods in. Pairing AirPods to a device outside Apple’s walled garden is possible and fairly simple.
Tell your laptop to boot into ChromeOS Flex
This next step will let you test, or go all-in
With your USB installer made, now it’s time to put it to use. To do so, you’ll need to tell your laptop or computer to use the USB install to boot off of using the boot menu, which requires hitting the right key, or combination of keys, as your computer restarts. The boot menu key is different depending on the laptop manufacturer, but you can find a list of them here. For Mac users, it depends on if you have an Intel Mac or an Apple Silicon Mac. You can find the proper directions here.
Regardless of platform, as soon as the screen goes black after clicking restart, tap the boot menu key or the proper key combination every second till the boot menu screen appears. Popular examples are F12 for Dell and Lenovo or Esc for HP. Your manual or a Google search will reveal the key for your laptop if it’s not in the list. Once in the boot menu, select your USB flash drive from the list and your laptop should boot into ChromeOS Flex.
Alternatively, you can change the boot device in your laptop’s BIOS. Again there’s a specific key you’ll need to do this, usually F2, F10 or Del. Unlike the boot menu key options, the BIOS option will not reset on the next restart and will continue to boot into ChromeOS Flex till you change it back.
The great thing about ChromeOS Flex is that you’re able to run it from the USB flash drive first before installing it to your laptop
Try ChromeOS Flex first
Trial on USB drive to give you peace of mind
The great thing about ChromeOS Flex is that you’re able to run it from the USB flash drive first before installing it on your laptop. This means if you don’t like it, you can just unplug your USB flash drive and go straight back to your previous operating system such as Windows. However, if you do intend to use it long term, it’s worth installing it to your laptop directly as you’ll see better performance. You can still try it first, though, as you can fully install it using the USB installer at any time.
If you want to try it for a few days and intend to restart your PC during that time, you might want to change your default boot device in your laptop’s BIOS as explained in the previous step, otherwise each time you restart you’ll need to enter the boot menu.
 Use ChromeOS Flex as your main operating system
If you don’t want to keep any of your programs or data or your previous operating system want to use ChromeOS Flex instead, you can select Install ChromeOS Flex from the first install screen or by clicking on Install ChromeOS Flex at the bottom of your screen when you next boot from your USB installer.
Installing ChromeOS Flex onto your laptop’s hard disk or SSD will mean it feels more responsive as it will likely be faster than running it off your USB flash drive. Installing it will wipe your laptop’s storage, though, so make sure you back up anything you need to keep.
You’re ready to go
Installing ChromeOS Flex to your laptop takes just a minute or two and once it’s done, you can remove your USB flash drive and use it for other things again.
Trending Products

Cooler Master MasterBox Q300L Micro-ATX Tower with Magnetic Design Dust Filter, Transparent Acrylic Side Panel…

ASUS TUF Gaming GT301 ZAKU II Edition ATX mid-Tower Compact case with Tempered Glass Side Panel, Honeycomb Front Panel…

ASUS TUF Gaming GT501 Mid-Tower Computer Case for up to EATX Motherboards with USB 3.0 Front Panel Cases GT501/GRY/WITH…

be quiet! Pure Base 500DX Black, Mid Tower ATX case, ARGB, 3 pre-installed Pure Wings 2, BGW37, tempered glass window

ASUS ROG Strix Helios GX601 White Edition RGB Mid-Tower Computer Case for ATX/EATX Motherboards with tempered glass…


